

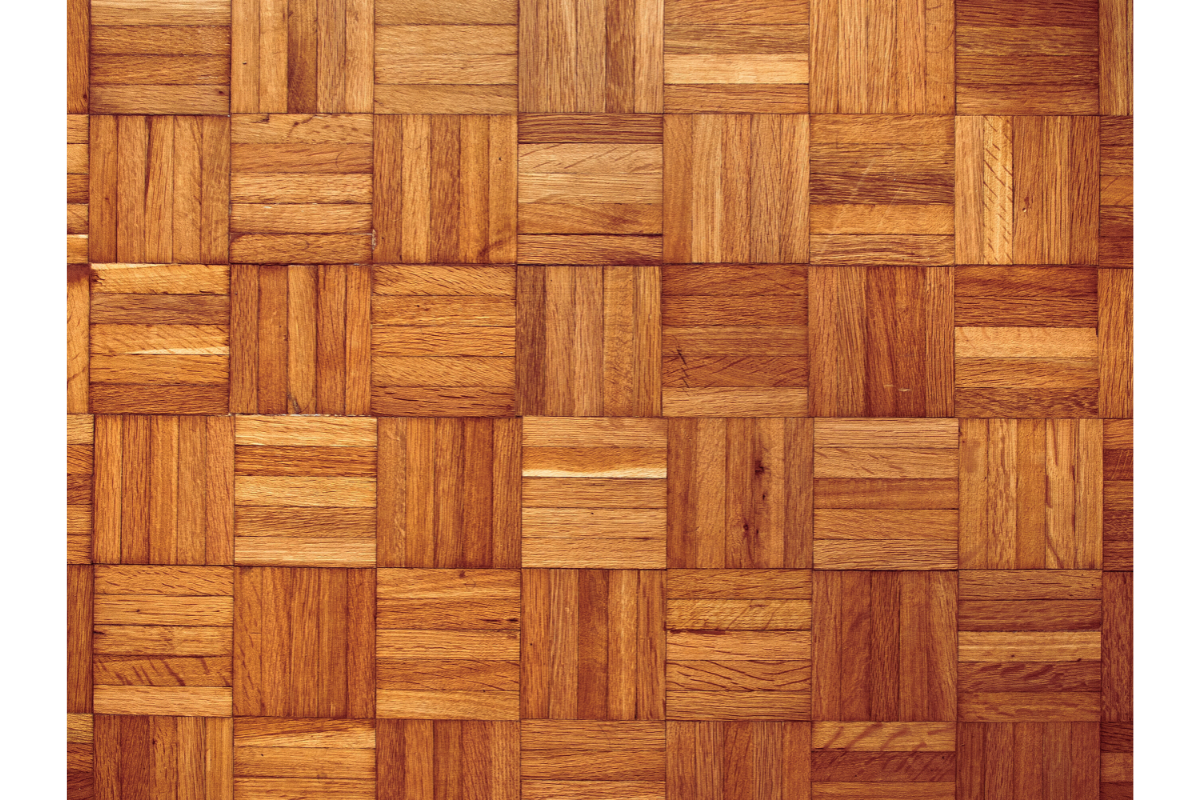
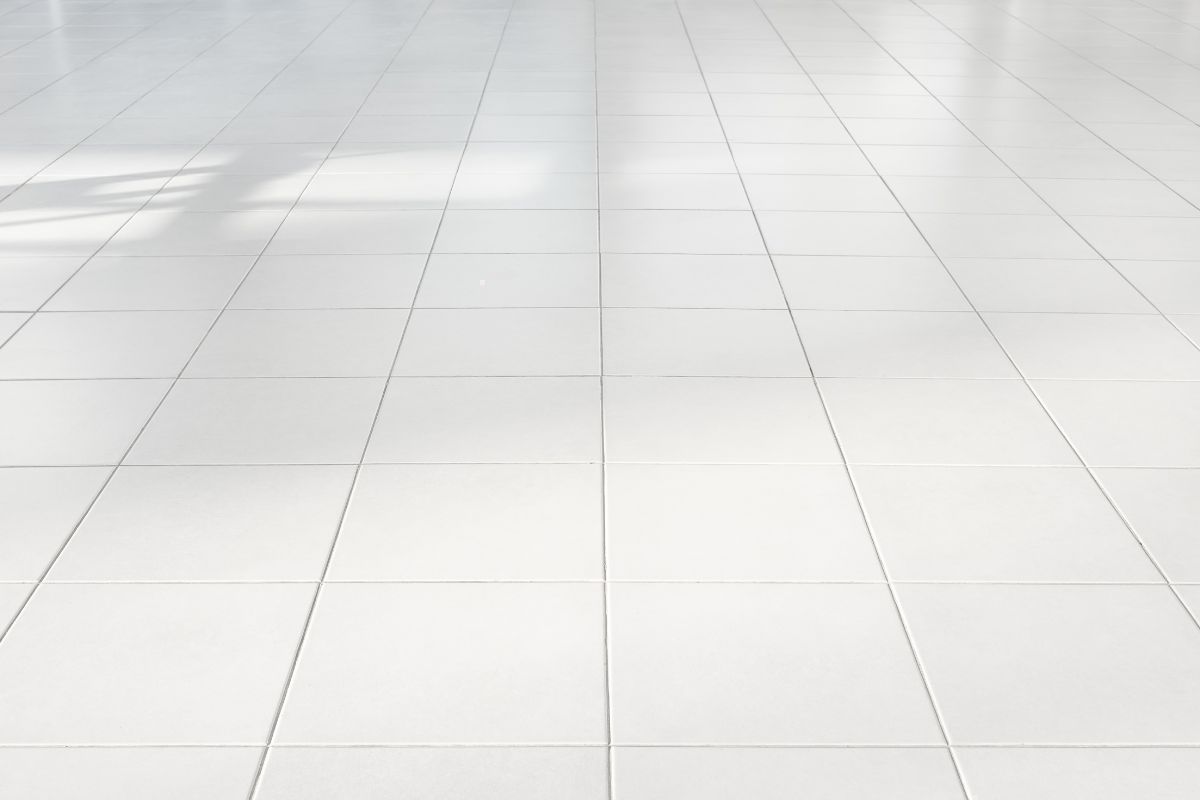
Ever wondered how to get those perfectly square layouts when installing tiles? The 3 4 5 rule might just be the trick you need. It’s a simple method rooted in basic math that helps you create precise right angles for your flooring projects. Whether you’re a DIY enthusiast or just trying to understand what the pros are doing, this guide will walk you through everything you need to know about using the 3 4 5 rule in flooring.
Key Takeaways
- The 3 4 5 rule is a straightforward method to create accurate right angles using a 3:4:5 measurement ratio.
- This rule is based on the Pythagorean theorem and ensures straight, even tile layouts.
- Proper surface preparation, like cleaning and leveling, is essential before applying the 3 4 5 rule.
- Using tools like chalk lines and measuring tapes can improve precision and avoid common mistakes.
- Double-checking measurements and adjustments during installation can save time and prevent errors.
The Basics of the 3 4 5 Rule in Flooring
Understanding the Pythagorean Connection
The 3 4 5 rule is rooted in the Pythagorean theorem, which is all about right triangles. Basically, if you measure 3 units along one side, 4 units along the other, and the diagonal measures 5 units, you’ve got yourself a perfect 90-degree angle. This simple math trick is a lifesaver for flooring projects, especially when you’re trying to avoid crooked lines or misaligned tiles. It’s not just for math geeks—this rule makes sure your layout is square and ready for action.
How the Rule Ensures Right Angles
So, why does this matter for flooring? Well, right angles are the backbone of a neat tile layout. If your lines aren’t square, your tiles won’t line up properly, and the whole floor could look off. By using the 3 4 5 rule, you double-check that your starting lines are perfectly aligned. It’s like setting the foundation for the rest of your work—get it right here, and everything else falls into place.
Common Applications in Tile Layouts
The 3 4 5 rule isn’t just for pros; it’s super handy for DIYers too. Here’s where you’ll often use it:
- Starting a tile layout in the center of a room to ensure symmetry.
- Creating grids for diagonal tile patterns.
- Squaring up corners around kitchen islands or bathroom fixtures.
A quick tip: Always measure twice. A tiny mistake in your initial measurements can snowball into bigger issues down the line. For those tackling tile installations, considering tile flooring solutions can ensure a professional and long-lasting result.
Preparing Your Surface for a Perfect Layout
Importance of a Clean and Level Subfloor
Before you even think about laying tiles, you’ve got to get your subfloor in shape. It’s not glamorous, but it’s critical for a long-lasting tile installation. Start by sweeping and vacuuming to remove dust, dirt, and debris. If there’s old adhesive, wax, or sealant, scrape it off or use a chemical remover. Check for cracks or uneven spots—these can mess up your tiles later. Use a leveling compound to smooth out any dips or bumps. A clean, level base is the foundation for everything else.
Tools and Materials Needed for Preparation
Having the right tools on hand makes the whole process smoother. Here’s a quick rundown of what you’ll need:
| Tools | Materials |
| Tape measure | Leveling compound |
| Level | Thinset mortar |
| Notched trowel | Waterproof membrane (if needed) |
| Chalk line | Tile spacers |
| Safety gear (gloves, goggles) | Grout |
| Sponge and clean cloths | Sealant |
These tools and materials will help you tackle most prep tasks with ease.
Steps to Remove Old Flooring and Debris
- Clear the Room: Move all furniture and appliances out of the area. You need a blank canvas to work on.
- Remove Old Flooring: Depending on what’s there, you might need a pry bar, scraper, or a heat gun for stubborn materials like vinyl.
- Clean Thoroughly: Sweep, vacuum, and mop the surface to get rid of any remaining debris.
- Inspect the Subfloor: Look for cracks, holes, or uneven areas. Patch these up with a leveling compound.
- Apply Waterproofing (if needed): In areas like bathrooms or kitchens, this step is non-negotiable. A waterproof membrane can prevent moisture issues down the line.
A little extra effort in preparing your surface can save you a ton of headaches later. Skipping these steps might lead to uneven tiles, poor adhesion, or even cracked grout lines. Professional flooring services can help with every step of the process, from flooring removal to debris disposal, ensuring a smooth and hassle-free flooring upgrade experience. Check out our services for expert assistance.
Applying the 3 4 5 Rule for Tile Installation
Step-by-Step Guide to Measuring and Marking
To start, pick a key point in the room—like the center or a focal area. Measure three units along one direction and four units along a perpendicular line. Then, measure the diagonal between these points. If it equals five units, congratulations—you’ve got a perfect right angle! This simple method ensures your tiles will line up straight. Here’s how to break it down:
- Use a tape measure to mark 3 feet on one wall and 4 feet on an adjacent wall.
- Connect the two points with a diagonal line.
- Check the diagonal measurement; it must be exactly 5 feet.
Using Chalk Lines for Precision
Once you’ve confirmed the right angle, mark your lines permanently. A chalk line is great for this—just snap it along your measurements. This creates a clear guide for placing tiles. You can also use a level to double-check that the lines are straight. Precision here saves headaches later.
Adjusting for Accuracy During Installation
Even with careful prep, small errors can sneak in. Double-check your angles as you work, especially in larger rooms. If a tile looks off, don’t hesitate to adjust. Use spacers to maintain even gaps and a level to keep everything flat. The goal is a flawless result, so take your time.
Avoiding Common Mistakes with the 3 4 5 Rule
Double-Checking Measurements for Accuracy
One of the most frequent errors when using the 3-4-5 rule is inaccurate measurements. Even a small mistake can throw off the entire layout. Always double-check your dimensions before marking your lines. Use a reliable tape measure and ensure your chalk lines are straight and taut. A quick re-measure can save hours of frustration later.
Dealing with Uneven Subfloors
An uneven subfloor is another common culprit behind misaligned tiles. Before applying the 3-4-5 rule, take the time to inspect and prepare the surface. Here’s how you can tackle uneven floors:
- Use a long level to identify dips or high spots.
- Apply a self-leveling compound to correct uneven areas.
- Sand down any raised sections to create a smooth surface.
A properly prepared subfloor ensures your tiles stay aligned and stable over time.
Ensuring Proper Adhesive Application
Incorrect or uneven adhesive application can cause tiles to shift, ruining your layout. To avoid this:
- Choose an adhesive suitable for your tile type and subfloor material.
- Spread the adhesive evenly using a notched trowel.
- Avoid applying too much adhesive at once—work in small sections to maintain control.
Proper adhesive use not only keeps your tiles in place but also ensures a longer-lasting installation.
Taking the time to address these common mistakes upfront will make your tile installation smoother and more professional. A little extra effort during preparation can save you from costly fixes down the road.
Advanced Techniques for Complex Layouts
Creating Diagonal Grids with the 3 4 5 Rule
Diagonal layouts can transform a room, giving it a unique and dynamic look. To start, mark a centerline down the longest part of the room and snap a perpendicular line using the 3 4 5 rule to ensure perfect right angles. From there:
- Measure equal distances along the horizontal and vertical lines from the center point.
- Snap a diagonal chalk line through these marks to establish your first diagonal reference.
- Build a grid by snapping additional parallel lines at consistent intervals.
Diagonal layouts often require more time and patience, especially when calculating cuts along walls or around fixtures, but the effort pays off with a stunning result.
Handling Obstructions Like Islands and Fixtures
Obstructions such as kitchen islands, plumbing fixtures, or odd-shaped nooks can complicate layouts. The key is to plan cuts to avoid awkward slivers of tile in visible areas. Here’s how to handle these challenges:
- Start by identifying focal points, like doorways or sightlines from room entrances.
- Adjust your grid to position larger tile sections in prominent areas.
- For tight spaces or irregular shapes, use cardboard templates to pre-plan cuts.
This approach ensures your layout feels intentional and polished, even around tricky spots.
Optimizing Layouts for Aesthetic Appeal
A great layout isn’t just functional—it’s visually pleasing. To achieve this, consider:
- Balancing tile sizes to avoid small, awkward pieces along walls.
- Aligning grout lines with architectural features, like doorways or cabinet edges.
- Using a dry run to test different arrangements and find the most harmonious look.
Remember, a well-thought-out layout not only makes installation smoother but also enhances the room’s overall appearance.
With these advanced techniques, you can tackle even the most complex tile layouts with confidence, ensuring a professional finish every time.
The Role of Right Angles in Professional Tile Work
Why Right Angles Matter for Visual Appeal
Right angles are the backbone of any visually appealing tile layout. When tiles are aligned at perfect 90-degree angles, they create clean, straight lines that draw the eye naturally across the surface. Crooked or uneven tiles can disrupt the visual flow, making the space feel chaotic or poorly planned. This is especially noticeable in larger areas or intricate patterns, where even a slight misalignment becomes glaringly obvious. Right angles ensure that the design looks cohesive and polished, enhancing the overall aesthetic of the room.
Impact on Structural Integrity and Durability
Beyond just looking good, right angles play a key role in the durability of your tile installation. Misaligned tiles can create uneven pressure points, leading to cracks, chips, or even tiles popping loose over time. A properly squared layout distributes weight evenly across the surface, reducing the risk of damage. This is particularly important in high-traffic areas, like kitchens or hallways, where tiles are subjected to constant wear and tear. By maintaining right angles, you’re not just ensuring a good-looking floor—you’re also building a surface that lasts.
How Professionals Achieve Perfect Alignment
Achieving perfect right angles isn’t just about luck; it’s about precision and the right tools. Professionals often rely on methods like the 3/4/5 rule to establish accurate 90-degree angles before laying a single tile. They use tools like chalk lines, laser levels, and square edges to double-check their measurements throughout the process. Here’s a quick breakdown of their approach:
- Mark the layout: Using the 3/4/5 rule, they measure and mark the starting point to ensure the first tiles are perfectly aligned.
- Check with tools: Chalk lines and laser levels are used to guide placement and maintain straight lines.
- Test-fit tiles: Before applying adhesive, they often dry-lay tiles to confirm alignment and make adjustments if necessary.
Taking the time to establish right angles at the start might feel tedious, but it saves hours of frustration down the line. A well-planned layout is the foundation of a successful tile installation.
By focusing on right angles, professionals ensure that their work not only looks great but also stands the test of time. Whether you’re tackling a small bathroom or a sprawling kitchen floor, getting those 90-degree angles right is non-negotiable. Call us today for expert tile installation assistance!
Tips for a Seamless and Efficient Installation
Planning Your Layout to Minimize Waste
Before you even think about sticking tiles down, take a moment to sketch out your layout. Start from the center of the room and work outward. This method helps you use as many full tiles as possible, which not only looks better but also reduces waste. Always double-check your measurements to avoid ending up with awkwardly small pieces at the edges.
Using Reference Lines to Guide Placement
Chalk lines are your best friends here. Snap a couple of lines as guides—one for the length and another for the width of the room. This ensures your tiles stay aligned and straight throughout the process. And don’t forget to check your angles with the 3/4/5 rule to make sure everything starts square.
Streamlining the Process for Better Results
Here’s a quick checklist to keep things moving smoothly:
- Mix your thinset mortar in small batches so it doesn’t dry out while you’re working.
- Lay down tiles section by section, using spacers to maintain even gaps.
- Keep a damp sponge handy to clean off excess mortar before it hardens.
Taking the time to plan and prep properly will save you headaches later. A little patience now goes a long way toward a professional finish.
For those working with laminate flooring, consider the Rule of Thirds to stagger planks for both durability and a polished look.
Wrapping It Up
So, there you have it—the 3/4/5 rule is a straightforward way to make sure your tile layout is square and clean. It’s not rocket science, but it does take a little patience and attention to detail. Whether you’re tackling a small bathroom or a big kitchen, this method can save you from a lot of headaches down the line. Just remember to double-check your measurements, prep your surface properly, and take your time. A little extra effort upfront can make a huge difference in how your project turns out. Happy tiling! Call Us for expert advice or assistance with your tiling project!
Frequently Asked Questions
What is the 3 4 5 rule in flooring?
The 3 4 5 rule is a method used to create a perfect right angle when laying tiles or flooring. By measuring 3 units on one side, 4 units on the other, and ensuring the diagonal between them is 5 units, you can confirm a 90-degree angle.
Why are right angles important in tile installation?
Right angles ensure that tiles are aligned properly, giving the finished floor a professional and visually appealing look. They also help maintain the structural integrity of the layout.
How do I prepare my floor for tiling?
Start by cleaning the surface thoroughly, removing old flooring or debris, and ensuring the subfloor is level. If the subfloor is uneven, use a self-leveling compound to fix it before proceeding.
What tools do I need to apply the 3 4 5 rule?
You’ll need a measuring tape, chalk lines, a straight edge, and possibly a square or protractor to double-check your angles.
How can I avoid mistakes when using the 3 4 5 rule?
Double-check your measurements, use quality tools, and ensure the subfloor is even. Also, take your time to mark lines carefully and verify accuracy before installing tiles.
Can the 3 4 5 rule be used for diagonal tile layouts?
Yes, the 3 4 5 rule can be adapted for diagonal layouts by creating a grid and using the rule to maintain accurate angles throughout the design.
Our team ensures perfect installation with a focus on durability, style, and customer satisfaction. Whether it’s residential or commercial, we deliver flooring solutions that bring beauty and functionality to every space. Contact us today to get started!